

Hey everyone! Today, in this blog, we’ll learn how to install React with Node using npx, step by step. If you’re new to react development or web development, don’t worry. By the end of this blog, you’ll know exactly how to install the app. So let’s jump right in!
if you want more react js tutorials please visit geeky code studio.com
Table of Contents
Step 1: Install Node.js
First of all, let’s check if you already have Node.js set up on your system. If you already have Node.js installed, you can skip this step. Node.js allows you to run JavaScript code outside of a web browser. You can download and install Node.js easily from the official website here.

Download the Node.js Recommended for Most Users version.
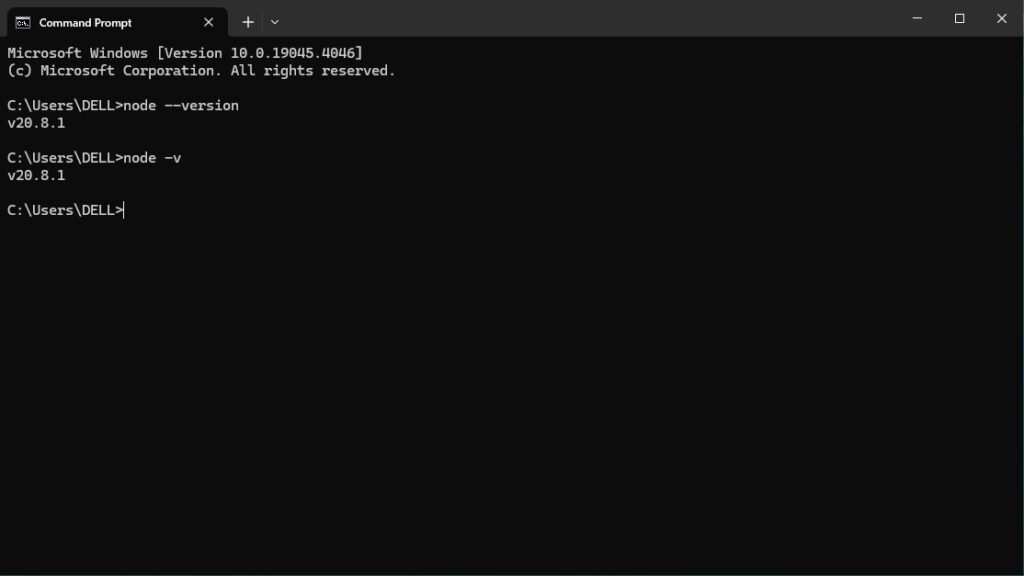
Once the installation is finished, check if Node.js worked or not using the terminal. If you’re using Windows, you can use the command prompt. Open the terminal or command prompt and type the following command:
node --versionuse short version also to check node.js version
node -vPress Enter. It will display your Node.js version. If you see a version number, then your Node.js installation is successful. Now you’re ready to make a React Js project.
Step 2: Create a New React Js Project
Now that Node.js is installed, let’s proceed with React installation. We will use the npx command, which is a tool that comes with Node.js, to create a new React App.
Easy way to open your command prompt (For windows Users)

Open your terminal or command prompt and type the following command in your command prompt or terminal:
npx create-react-app gcs-react-app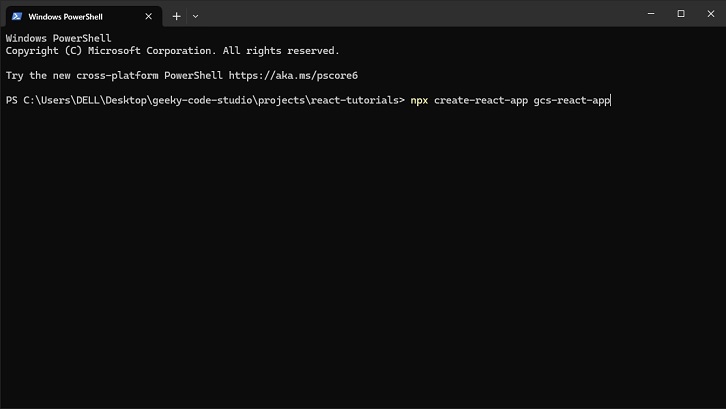
Replace “gcs-react-app” with whatever name you want for your React project. This command will set up and create a new folder called “gcs-react-app” (or whatever name you chose) with all the files and node modules you need for your React app.

Once the installation of Create React App is complete, you will see a confirmation message with some instruction in your terminal.
Step 3: Go to Your New React Project Directory
Once everything is installed perfectly, navigate to the react project folder you just created (gcs-react-app) (or whatever name you chose). Open the react project folder in the terminal or command prompt and type the following command in your command prompt or terminal:
cd gcs-react-app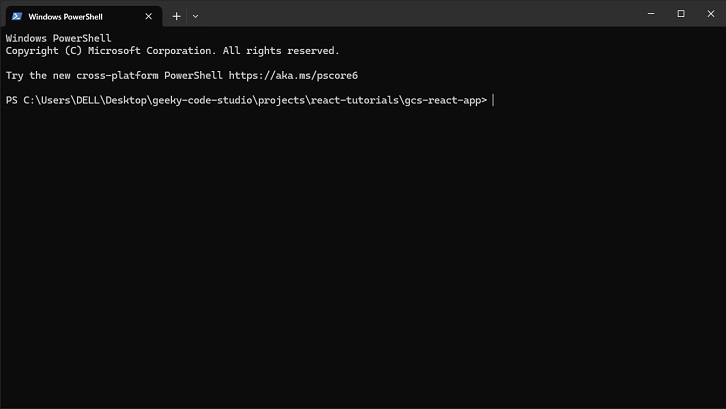
Make sure to replace “gcs-react-app” with the actual name you chose for your project.
Step 4: Start the Development Server
Now that you’re in your React app folder, let’s start the development server by typing the following command:
npm startThis command will fire up the server and open your default web browser to show your React app. You should see a basic React starter template in your browser.
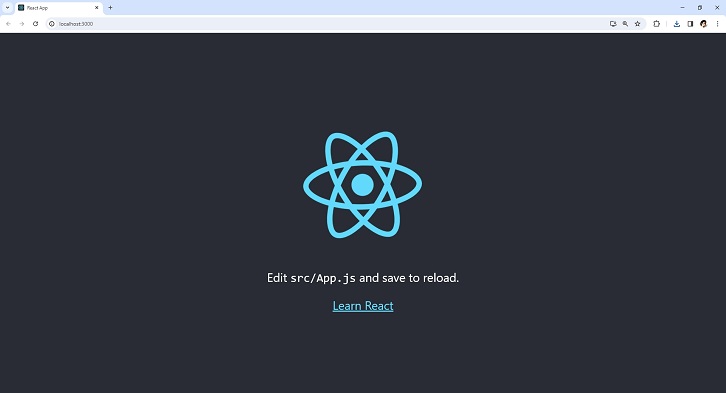
You can access your React app through the URL: http://localhost:3000
Step 5: Start Coding!
You’ve done an awesome job! You have React set up with Node using npx, and your development server is running smoothly. Now it’s time for the fun part – coding your React app! Open up your favorite code editor (such as VSCode), navigate to your React app folder, and start editing the files in the “src” folder. Whenever you make changes, the development server will automatically update your app in the browser so you can see your changes instantly.
And that’s it! You’re all set to build some amazing React applications. If you need more guidance on React concepts and best practices, check out the official React documentation here. Happy coding!